Deploying Your Agent
Below is a step-by-step guide on how to develop and deploy your custom Agent on aevatar Station. It includes preparing your development environment, obtaining the necessary credentials, creating and grouping Agents, and managing events and webhooks.
Follow these steps to ensure a smooth deployment process.
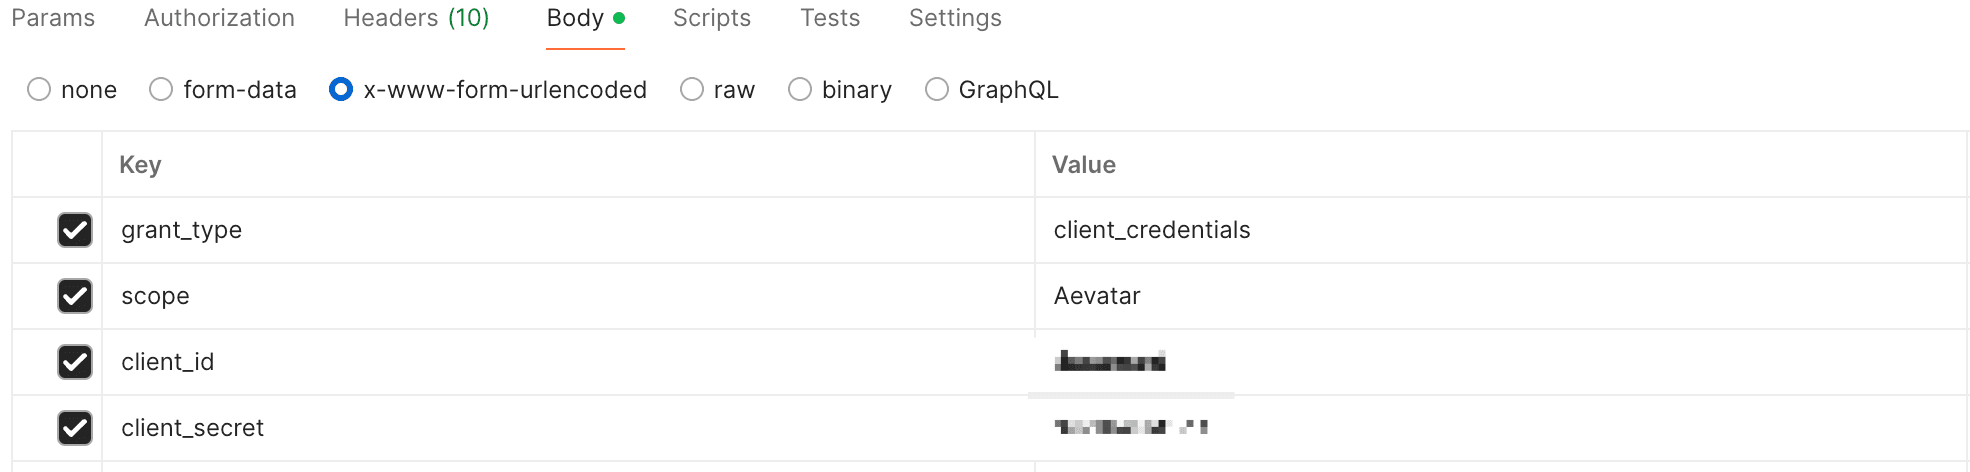
Obtain client_id and client_secret#
- Authenticating with the aevatar Station platform.
- Generating an authentication token to access APIs.
Note: Once you receive your credentials, store them securely.
Develop Your Agent#
- Core Functionality: Implement your business logic, data processing, and message handling according to your project requirements.
- Event Handling: Ensure your Agent can subscribe to events, receive event notifications, and publish events to other Agents.
- Configuration Management: Allow for dynamic configuration (e.g., load initialization parameters from external sources, handle runtime updates).
Upload to MyGet and Request Deployment#
- Build and package your project.
- Use MyGet (or any other package repository you have set up) to host your build artifacts.
- Ensure you have the correct repository URL.
- Provide the MyGet package URL to the aevatar Station administrator [email protected].
- Request for deployment on the aevatar Station platform.
Tip: Ensure your package name and version are clearly indicated to avoid confusion during deployment.
Authenticate and Obtain a Token#
- On success, you will receive an authentication token.
- Include this token in the Authorization header when calling other aevatar Station APIs.

Create an Agent Instance#
- Authorization: Bearer <your_token>
{
  "agentType": "AI Basic",
  "name": "Agent Name",
  "properties": {
      "a": "xx",
      "b": "yy",
      "c": 1
  }
}- Returns a unique Agent identifier (guid), the detailed response as below:
{
  "code": "20000",
  "data": {
    "id": "d2ba5534-f602-4288-b2a3-ef033877a0c8",
    "agentType": "AIBasic",
    "name": "Agent Name",
    "properties": {
      "a": "xx",
      "b": "yy",
      "c": 1
    }
  },
  "message": ""
}
Group Your Agents (Optional)#
If your project requires multiple Agents to work together, you can group them:
{
  "subAgents": ["guid1", "guid2"]
}
Response:
{
  "code": "20000",
  "data": {
    "id": "guid",
    "subAgents": ["guid", "guid"]
  },
  "message": ""
}- This API allows multiple Agents to operate as a cohesive group.
- Sub-Agents can communicate with the main Agent or other sub-Agents.
Inter-Agent Communication#
To enable messaging between Agents (or among Agents in a group):
- Authorization: Bearer <your_token>
{
  "agentId": "2463cbd5-71bc-4292-ad82-0cf31bb91de6",
  "eventType": "InvestmentEvent",
  "eventProperties": {
    "Content": "abc"
  }
}
Response:
{
  "code": "20001",
  "data": null,
  "message": "empty result"
}- The event will be delivered to any Agent subscribing to the specified eventType.
- Ensures asynchronous communication across Agents.
(Optional) Event Subscription Management#
If you want to handle advanced event routing or filtering:
Consult the aevatar Station APIs for the exact event subscription endpoints and parameters.
(Optional) Webhook Management#
If your Agent needs to receive external updates (e.g., Twitter, Telegram) via webhooks:
- Provide the DLL to the administrator for deployment.
- Once deployed, you can access it via:
https://station-webhook-staging.aevatar.ai/{webhookId}/{RelativePath}- Ensure your webhook endpoint is correctly receiving external data (e.g., from Twitter or Telegram).
- Confirm that the webhook triggers the correct events in aevatar Station.
Best Practices#
Summary#
For detailed API specifications and advanced configurations, refer to our documentation center provided by the platform.
By following these steps, you will be able to successfully develop, deploy, and manage your custom Agents on aevatar Station. If you encounter any issues or have additional questions, contact the aevatar team or consult the official documentation.
Edited on: 18 February 2025 07:12:41 GMT+0